
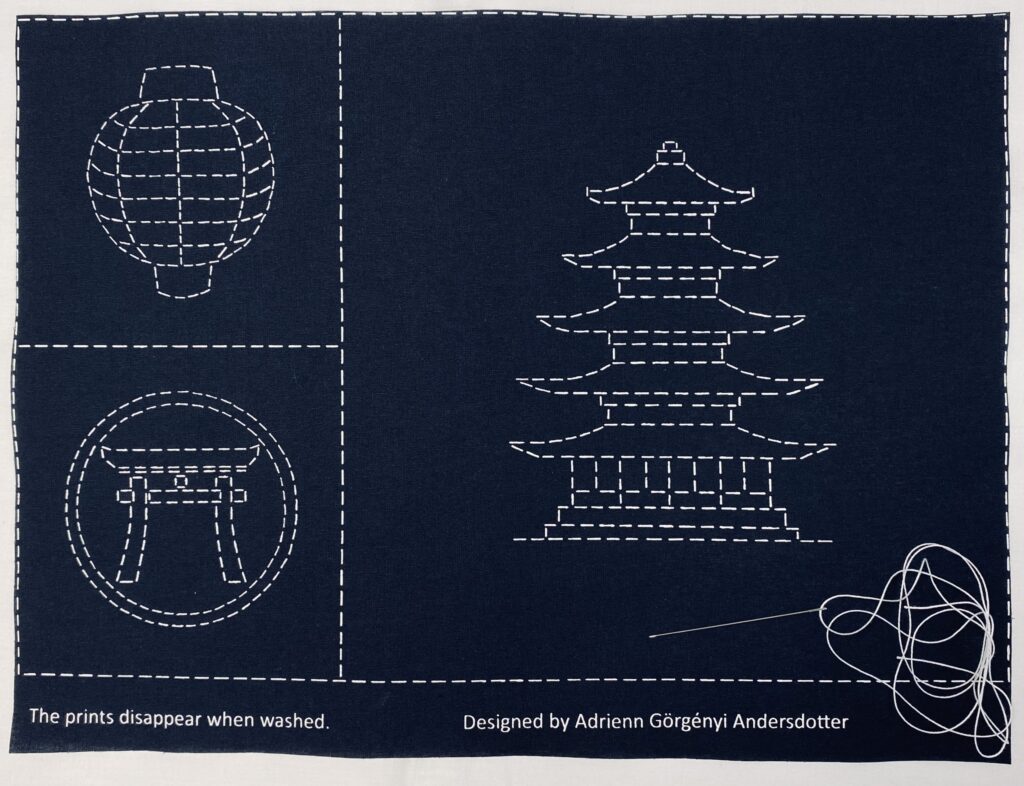
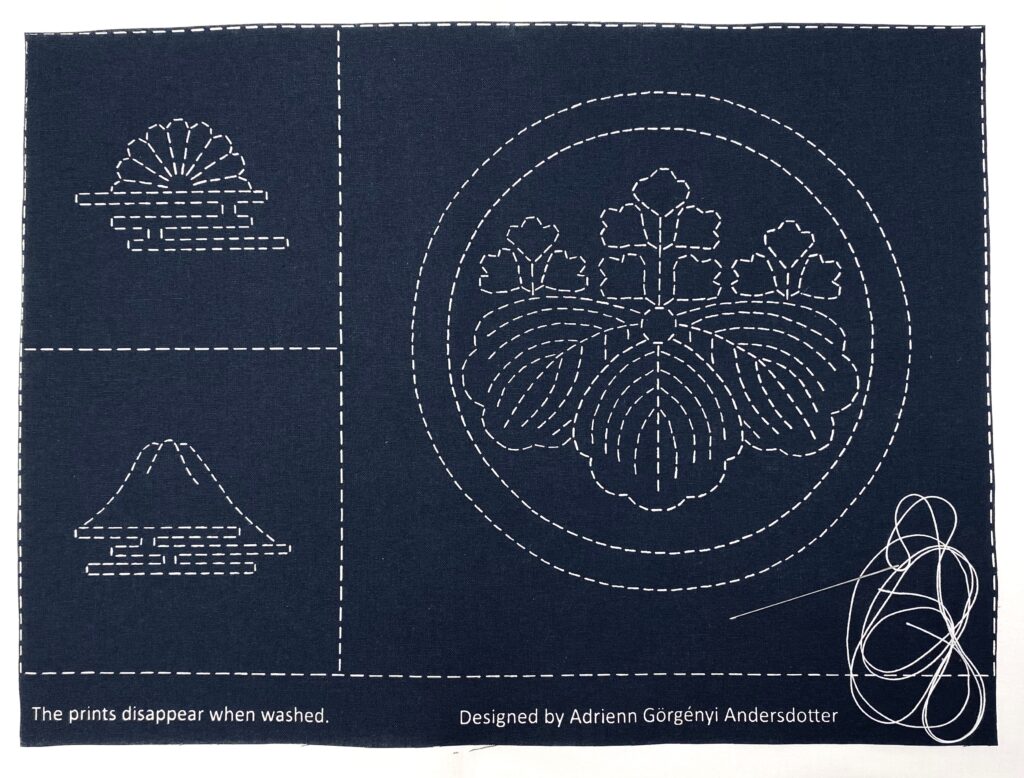
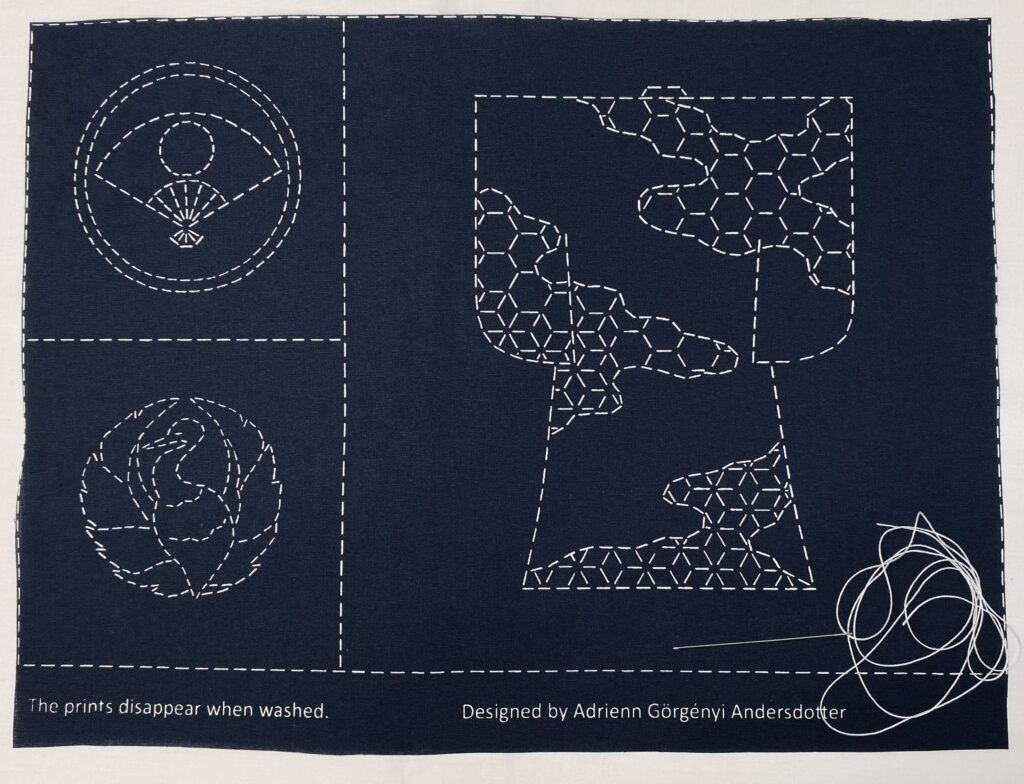
Above you see 3 sampler panels, from left to write the difficulty level and the time it takes to complete them increases.
For this kind of Sashiko the needle is sharp. The length and thickness of the needle is usually determined by the fabric used. These panels are printed on a thighter woven cotton fabric so a thinner needle is placed in the packaging. The Sashiko thread is also a thinner kind.
The smaller patterns can be made into coasters and the larger can be a complementing panel for patchwork or to decorate a bag/cushion. It´s up to your imagination.
Sashiko means “small stabs” which describes the stitch used, a running stitch. Running stitch is the basic stitch in hand-sewing. The stitch is worked by passing the needle in and out of the fabric, or you could say up and down.
A Sashiko needle is held differently than other emboidery needles. It can take a little time to get used to it, but I promise it´s worth the hassle in the beginning .
On the picture below I’m showing you how the Sashiko needle is held by using a thimble with a plate. (Feel free to contact me if you’d like a thimble with a plate at adrienn@dyelabmalmo.com)
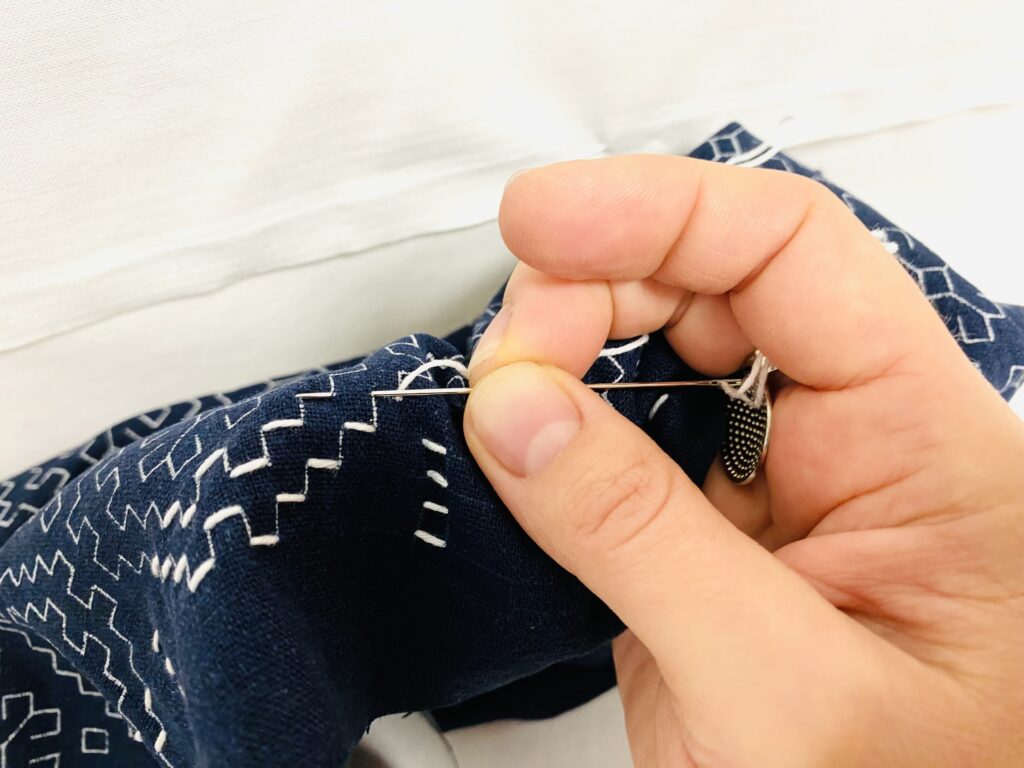

If you don’t have a thimble with a plate yet (the kit doesn’t include one) then you can try to hold the needle like on the picture below.
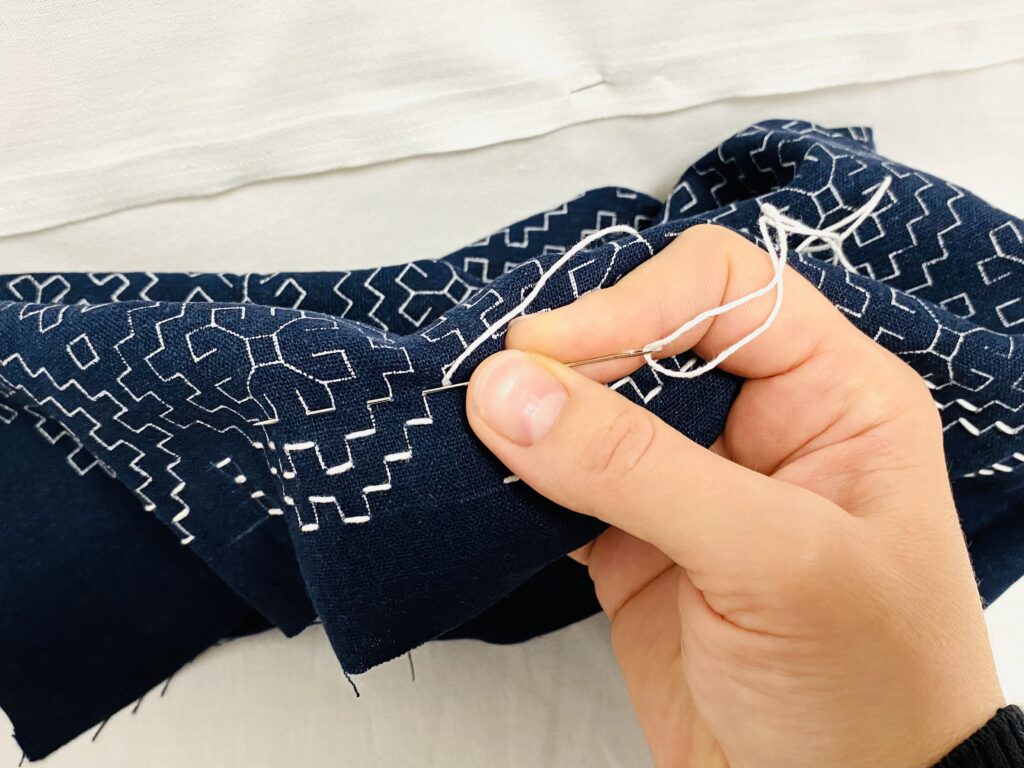
This isn’t the usual way of holding a Sashiko needle but it does the job. It helps to start training your muscle memory to hold the needle differently than when embroidering.
As these patterns are mainly built up from curved lines no more than 3-4 stitches sewn in the same time are recommended, but on the straight lines you can try to stitch the whole row. Don´t be too hard on yourself if you are a beginner, you will get the hang of it!
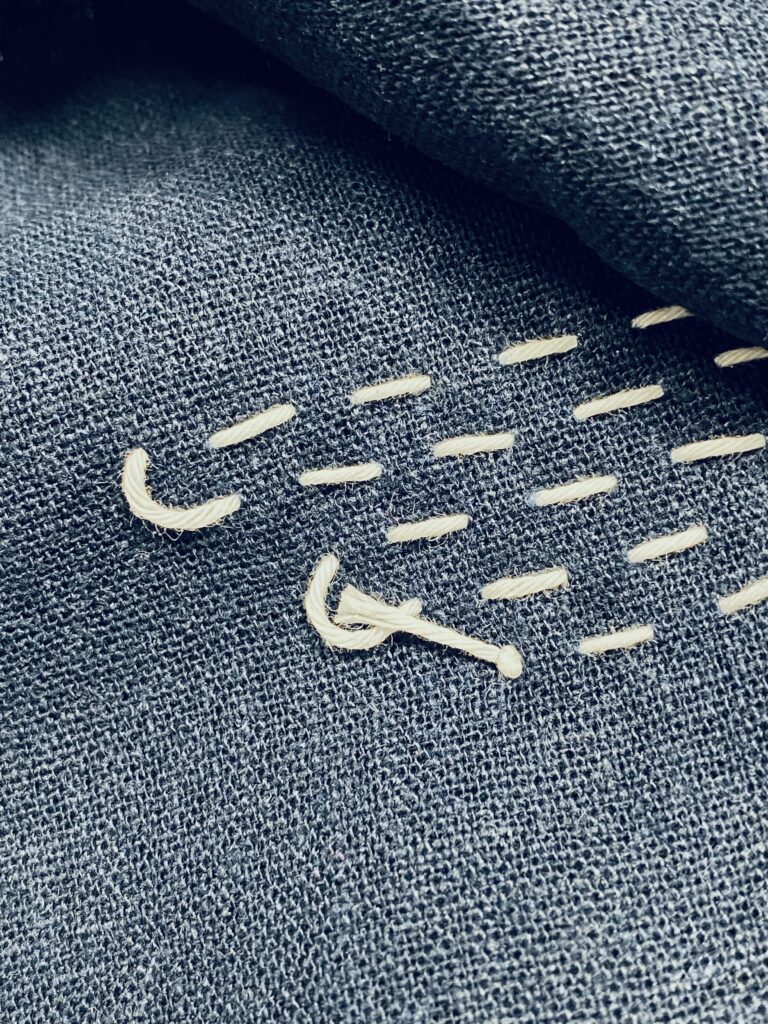
A tip that can be helpful on the way is to leave a little extra thread when you are at a corner and you are changing directions. See the backside of the pattern below, when changing rows for example, to secure that the thread won’t pull the fabric together – when you are done – that little extra thread can help. Always try to flatten out your project to keep the thread at ease and reduce the possibility for wrinkles.
Happy stitching!